Support
Multiusers
For multiple members of the same organization, it is not necessary to create additional users. If this suits everyone, they can work under one account. It makes sense to create additional users when it is necessary to differentiate access to certain actions.
A user can be a member of several organizations. To add an existing user to a new organization, you need to contact support. Switching between available organizations is done in the user portal at the top left, you need to open the drop-down list of organizations and select the one you need.

Setting up roles.
Permissions for user actions are specified in the corresponding role. A role is a collection of all permission settings for user actions. Role settings are located on the Organization Settings tab, the Roles / Premissions subtab. To create a role, click the Add New Role button.

The Add New Role form opens

You must fill in the role name, description and specify the permissions. The "Based on Role" option allows you to copy permissions from another role. To save the role, click the Save button. The created role will be displayed on the page.

Also, roles can be edited with the Edit role button and deleted with the Delete role button.
Setting up users.
User management is located on the Organization Settings tab, Users tab. To add a new user, click the Add New User button.

The Add New User form opens
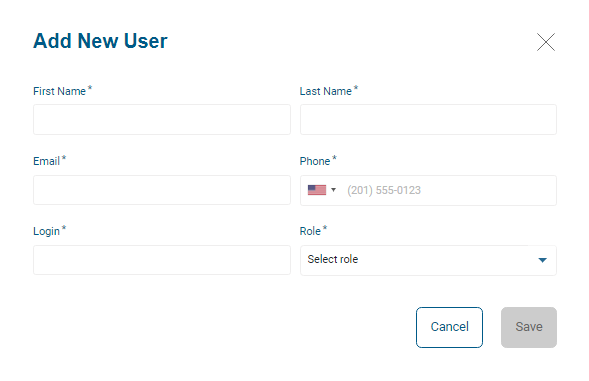
You must specify the First Name, Last Name, Email, Phone, Login, Role fields and save the results with the Save button. The created user will be displayed on the page.

Also, an email will be sent to the specified mail with a link to create a password.
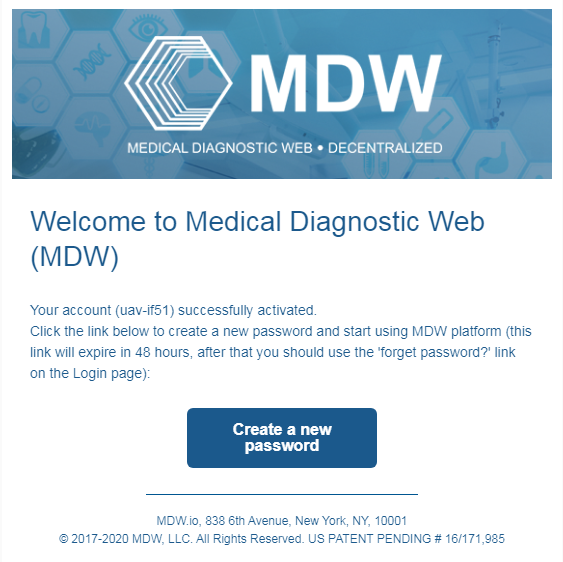
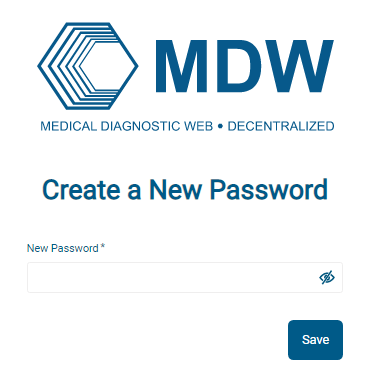
If necessary, this letter can be sent again manually using the Send login link button. If you click on this link, a password creation form will open. You must specify a password and save it.
You can also delete a user using the Delete user button or edit the data using the Edit user button.
Set up notifications.
User notification management is located on the Organization Settings tab, the Notifications subtab. In the drop-down list, select the user and specify the necessary notifications.
